
For several years, I worked on an old house in North Reading, MA. The house is not on any historic registers but the post and beam construction in the front section, joined together with tree nails ( “tunnels”), suggests an early date of construction.
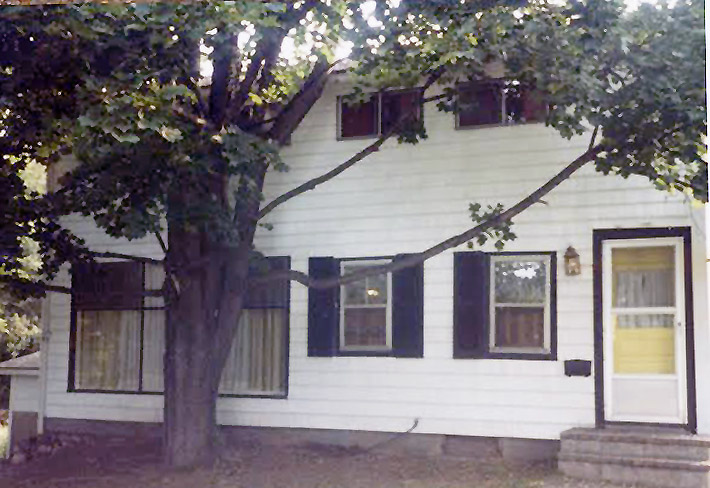
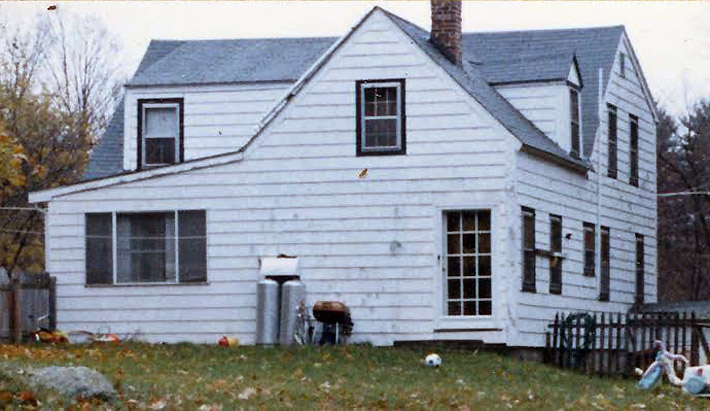

At some point, a wing was added onto the rear, perhaps another old building that was moved to the site and tacked on, judging from the irregular floors. All sections of the house have post and beam construction and low ceilings, suggesting an early construction date. Generations of owners have added their own touches to this cozy and unique home, including a full-width shed dormer in the front, smaller gable dormers in the rear section, and a side porch.

New windows
One of the first things we did to this house was install Andersen architectural windows, replacing a mix of old wooden sashes stuck in hand-made frames, a few old Andersen 200 series windows, and some vinyl replacements. Many of the rough openings in this old house had no headers or sills–the window openings were for the most part just holes in the wall. I added the missing framing before installing the windows.
Andersen’s pre-manufactured exterior casings offer several appearance options, from the brick molding of the 50s to the wider 4″ traditional casing shown here. Assembled and applied in the factory, the casings are easily removed for installation and held in place by a hooked extension on the wide nailing fins.


Upstairs attic room
The upstairs room in the rear ell was a challenging project, with its intersection of old roof lines, gables, dormers, valleys, seriously out-of-plumb walls, and a rolling floor. There was no such thing as square or level and I had to measure the angle of every board I put up. The end result was fascinating! The intersection of the roof line and dormer walls creates the unusual ceiling shapes in the photo. The front door of the room leads to the original part of the house and the rear door exits to the back stairway.

Front stairs
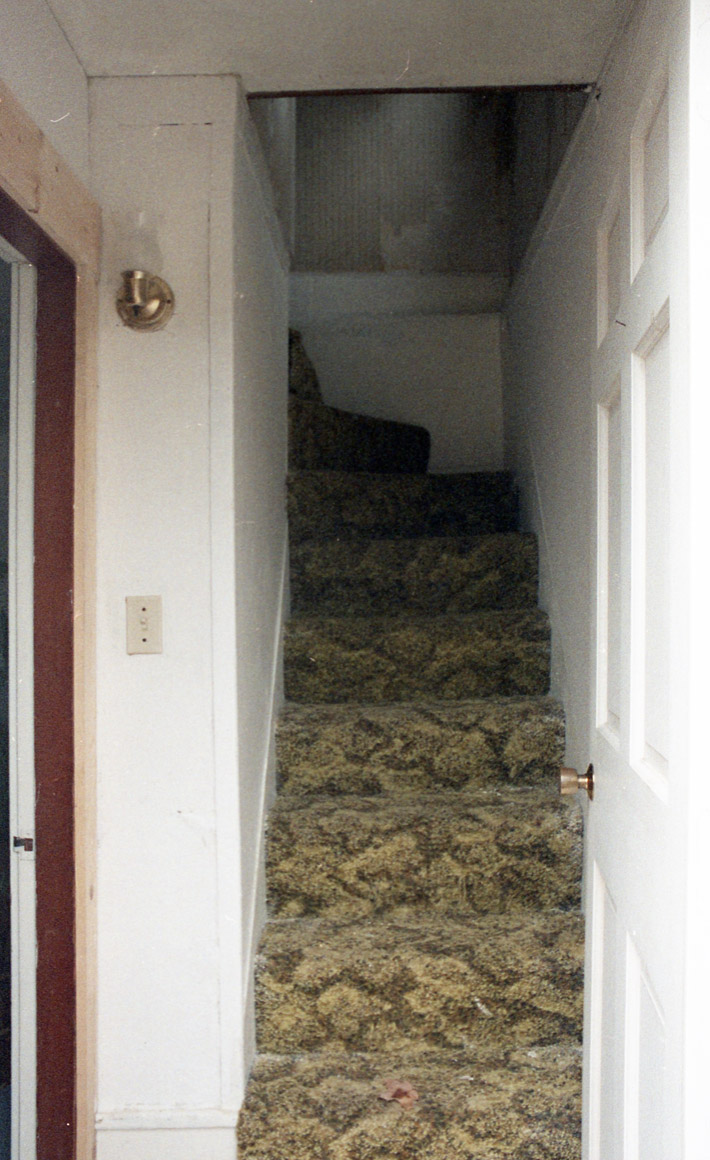
The front stairs were the next project. They are narrow and steep, and the carpenter apparently didn’t own a square or level. Every step met the stringers at a slightly different angle, but he just cut every step square regardless of the gaps. Fortunately, when he determined the rise of each step he also underestimated the bottom one and left a large top rise. This made it possible for me to encapsulate those old steps with new risers and treads.
There was no room to expand or widen the stairway, but making each step consistent and adding a 7/8″ nose definitely made the stairs feel safer. You can see in the picture that I’ve added a slight molding detail that defines the top of the stringers. Drywall had been installed over the old plaster a few years ago, in line with the top of the stringers. Here’s what they looked like in 1985.
Rear stairs

The new rear oak stairs were accomplished by turning and extending three steps into the kitchen area, cutting out some of the ceiling, and separating them from the refrigerator with a new wall. The only thing holding the old stairs together were the staples in its old shag carpeting. We went from a very dangerous situation to nice oak stairs with an excellent 10″ run and 7 1/2″ rise.
Master bedroom
In the summer of 2015, we started on the front master bedroom. Dormers had been added in the 20th century, but the ceiling height was only 6’7″. We removed the ceiling joists, which were only three 2×6 boards tacked onto 1×6 boards, and about a foot of blown-in cellulose insulation.

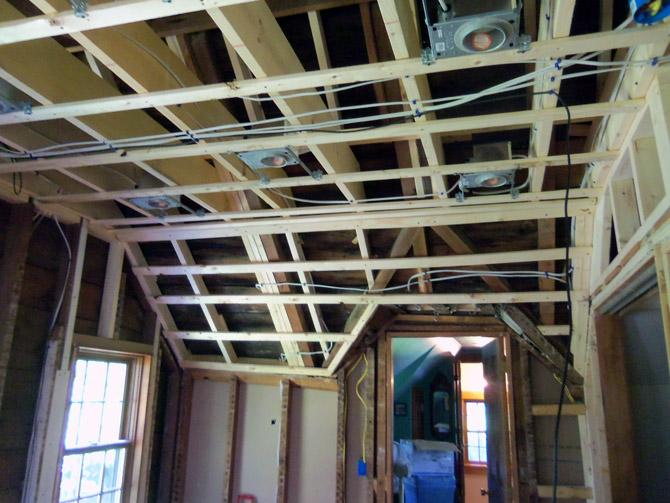
The above photo shows the room after we framed the ceiling to 8′ (in the middle). You can see the old ceiling line above the closet doorway. In the background is the room shown at the beginning of this post.


Captain Thomas Eaton homestead
This building was part of the historic Eaton homestead which dates to 1768. The front right downstairs room is much older than the rest of the house and was probably originally an outbuilding on the farm of Captain Thomas Eaton I and II.
Captain Thomas Eaton Jr. died at the age of eighty-six, on December 4, 1829. His wife and widow Joanna, died three months later, on March 8, 1830, at the age of eighty- three. Their son George Washington Eaton, then forty-eight yrs. old, came into possession of the farm, consisting of the family dwelling at the corner of Washington and Park Streets, a barn, shoe shop, three adjoining sheds, house lot, barn lot, and forty acres of meadow, pasture, and wood lot.
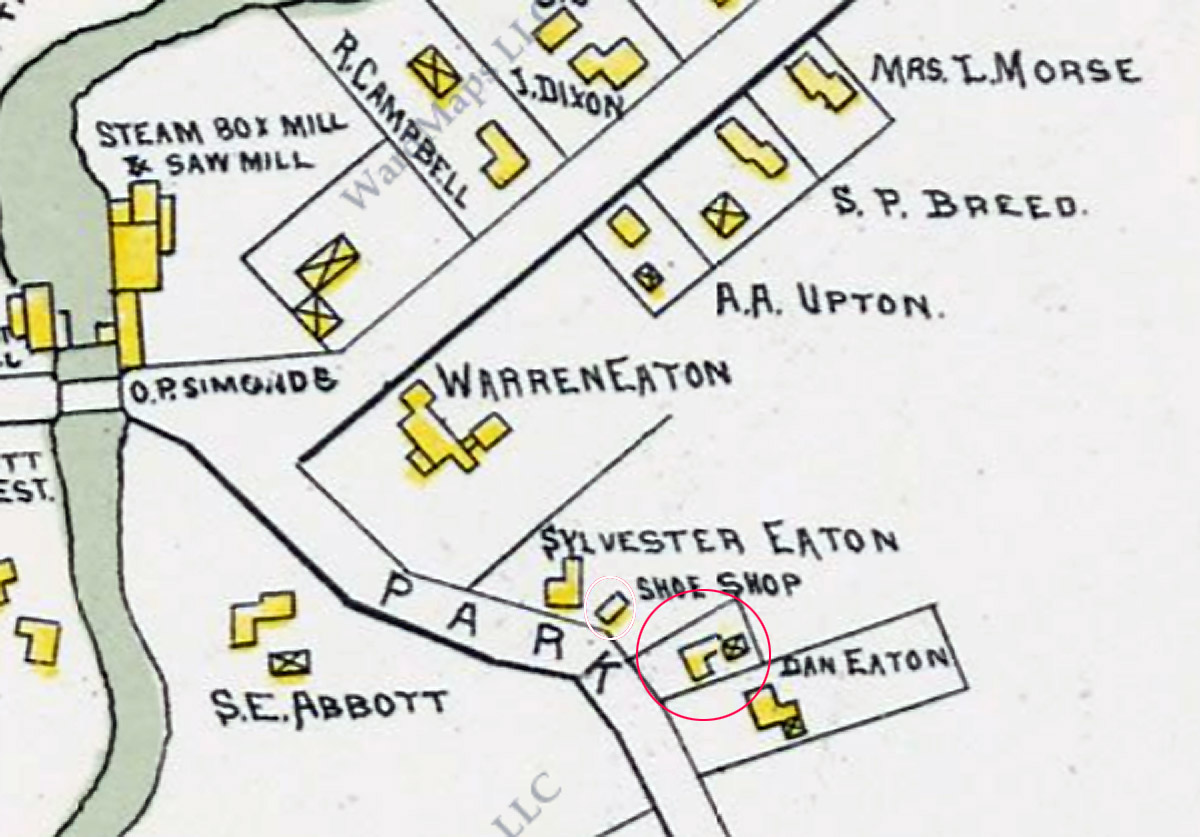
The earliest record of this house is in April of 1861 when it was transferred from Warren Eaton to Sarah Randolph. The house by that time had acquired its current dimensions but the lot was only 1/4 acre. The house to the left was Sylvester Eaton’s shoe shop in the 1889 North Reading map. The surrounding property remained in the possession of Warren Eaton in the 1875 North Reading map and the 1889 map. William Reed bought the house in 1872 and sold it in 1876.

The WikiTree site provides the following genealogy:
- George Washington Eaton Sr was the brother of Warren Eaton who owned the adjoining property in the 1875 and 1889 map.
- →Son of Thomas Burne Eaton III and Joanna (Flint) Eaton of Reading
- →Son of Thomas Eaton II and Mehitable Eaton of Reading
- →Son of Thomas Eaton I and Mary (Gowing) Eaton of Reading
- →Son of John Eaton and Hannah (Pratt) Eaton of Reading and Lynn
- →Son of John Eaton Sr. (1667 – 1754) and Elizabeth (Kendall) Eaton of Reading.
- →Son of William Eaton (1635 – 1695) Birth: 20 December 1635 Watertown. Death: 17 December 1695 Reading, and Martha (Jenkins) Eaton.
- →Son of William Eaton (1607 – 1673) who arrived in New England during the Puritan Great Migration and settled in Reading in 1643.
Sources:
